Introduction
🎉 Welcome to the BlueTally Webhooks Documentation!
Welcome to the BlueTally Webhooks Documentation – your gateway to a seamless integration! This guide will help you get started with BlueTally Webhooks. All the essential details are documented here. If you have any questions, don’t hesitate to reach out to us at 📧 [email protected].
⚒️ Creating a Webhook
You can create Webhooks from your BlueTally account settings:
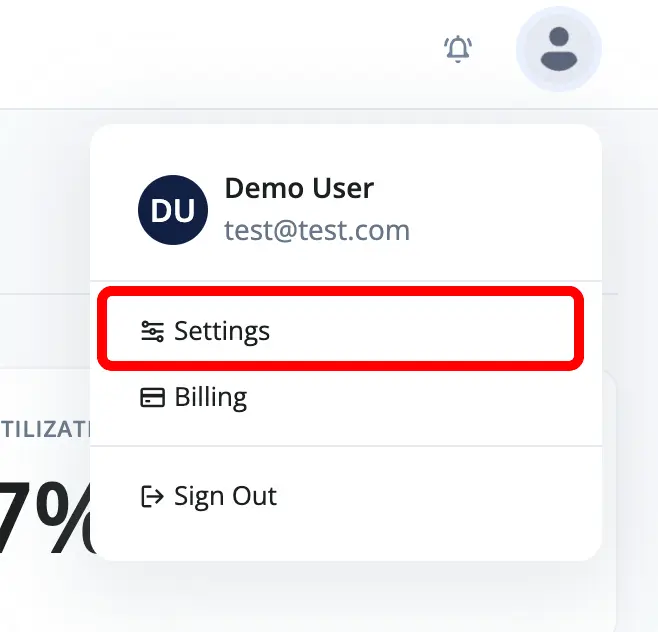
- Settings: Click the profile icon in the top right corner and select Settings.

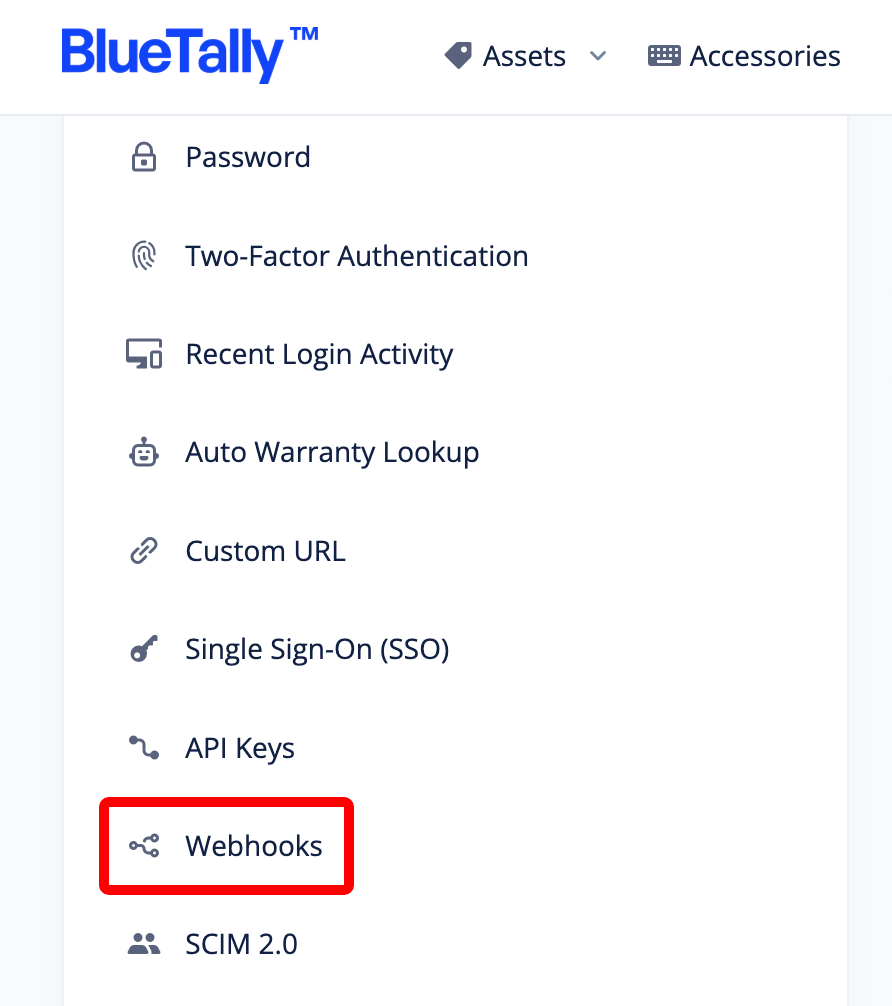
- Navigate to Webhooks: In the left navigation bar, click on Webhooks.

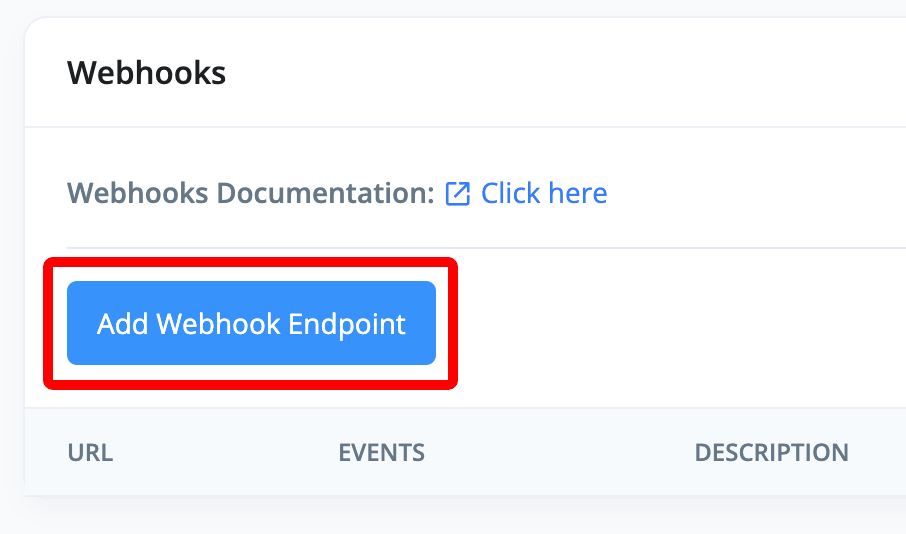
- Create a Webhook: Click on Add Webhook Endpoint.

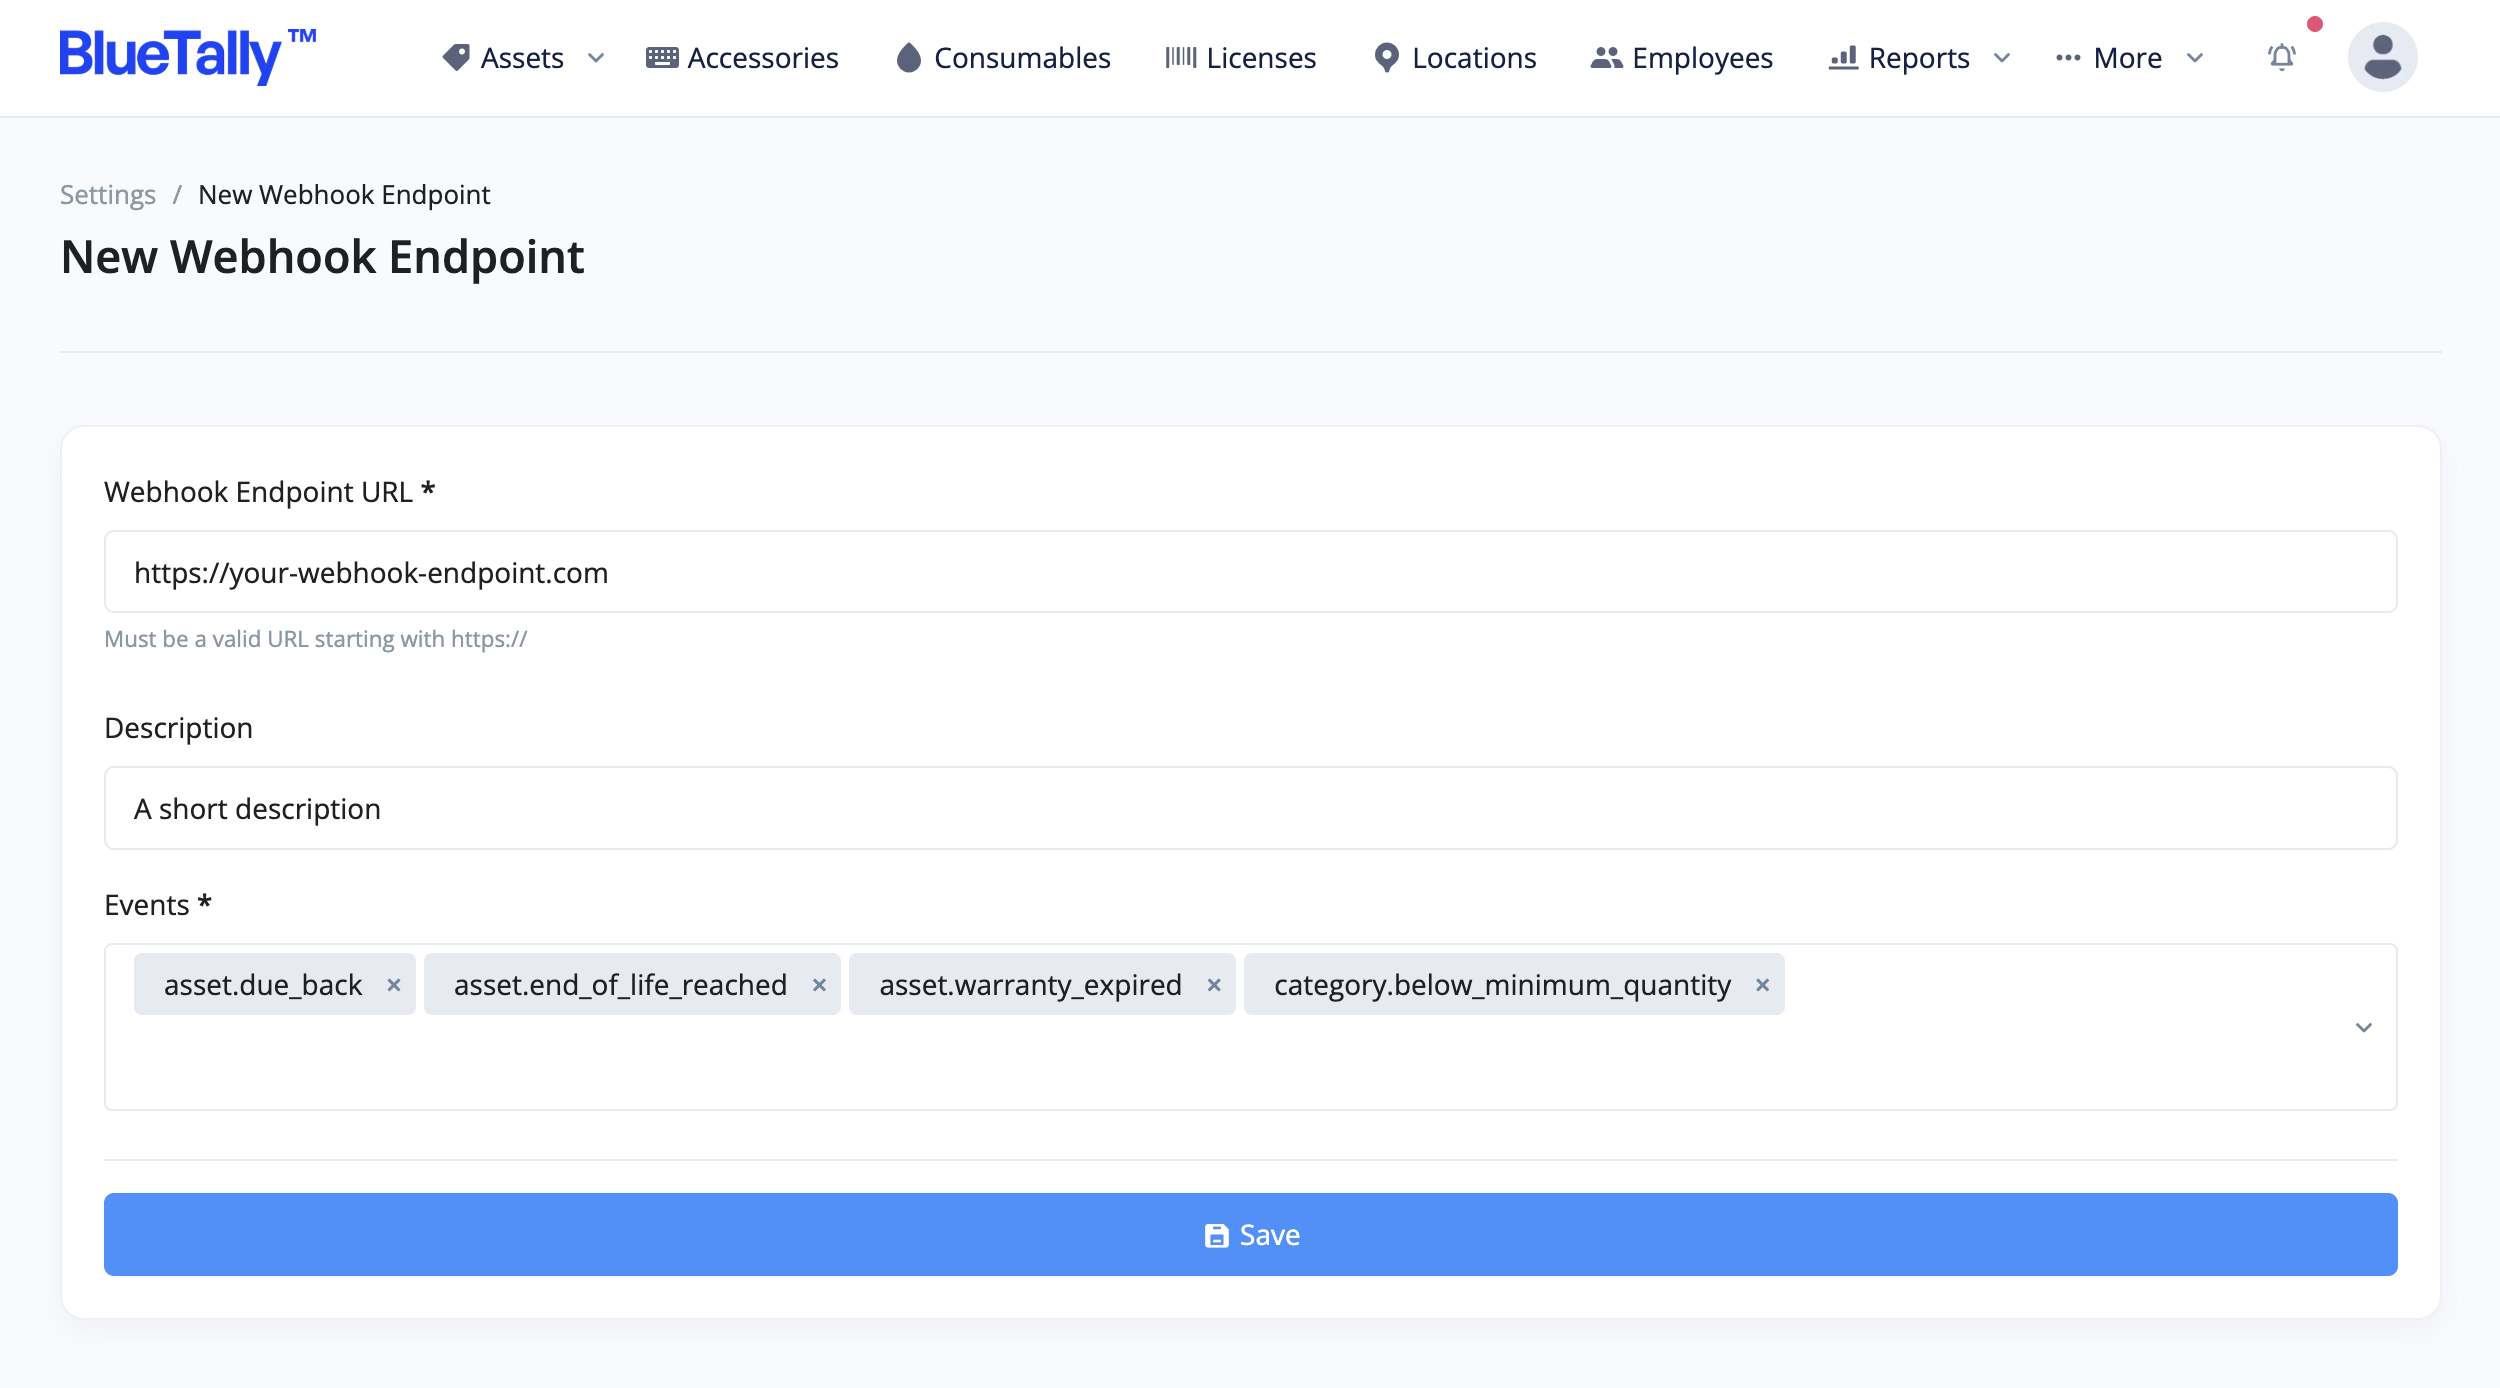
- Add Webhook details: Enter your Webhook endpoint URL, a description, and select which webhook events you'd like to receive to the endpoint.

Here is the complete list of available Webhook events you can select from (with examples):
- accessory.below_minimum_quantity
- accessory.due_back
- accessory.out_of_stock
- asset.due_back
- asset.end_of_life_reached
- asset.warranty_expired
- category.below_minimum_quantity
- component.below_minimum_quantity
- component.out_of_stock
- consumable.below_minimum_quantity
- consumable.out_of_stock
- employee.pending_offboarding
- license.below_minimum_quantity
- license.due_back
- license.expired
- license.out_of_stock
- product.below_minimum_quantity
Once you've saved the new Webhook, you'll see it appear in the list of all Webhooks, including a unique signing secret created for that specific Webhook endpoint.

We strongly recommend using the signing secret provided with each webhook endpoint to verify the authenticity of webhooks. Each webhook request includes an X-Webhook-Signature header that you can use to verify the webhook came from BlueTally and wasn't tampered with in transit.
Happy coding from the BlueTally Team! 🛠️
Updated 5 months ago
